One of the best named profiles in the game is considered the Akatsuki profile. I have linked it here if you wish to read up on it. Debuting in Kantai Collection, Akatsuki was a core profile of every deck in its time. If you had access to the profile, it was more than likely a three to four of. Now, what if we were to create a deck which functions essentially on repeating this same named ability.
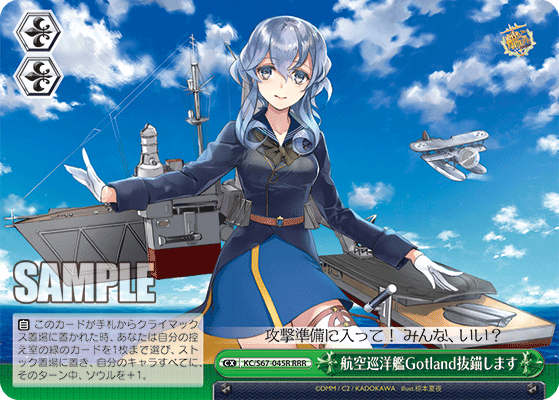
KC/S67-045R-RRR 航空巡洋艦Gotland抜錨します (right)
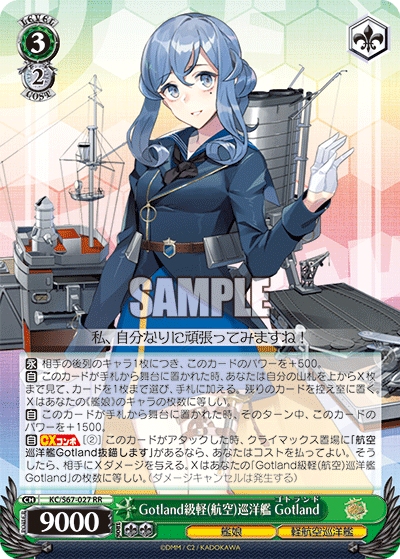
Bow down to the Gotland. Gottie here is our main finisher of choice. When Gottie swings with her climax, she deals damage equal to the number of other Gotlands you have on stage. Meaning, you can technically coordinate your damage with the number of finishers you field out.


KC/S42-035SP-SP 呂号潜水艦 呂500 (center)
KC/S42-057CC 呂号潜水艦、出撃します!(right)
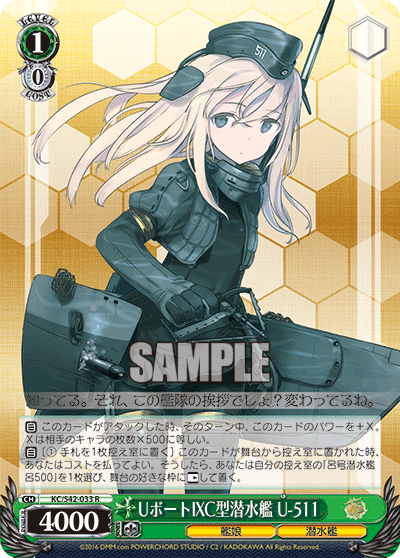
U-chan and Ro-chan begin the chain of barreling. When U-chan is sent to the waiting room, she dives and then resurfaces as Ro-chan if you pay her costs. Ro-chan herself is the actual combo, potentially spawning herself out from level one. Ro-chan combos with her climax to perform the Akatsuki ability when she attacks with her climax.
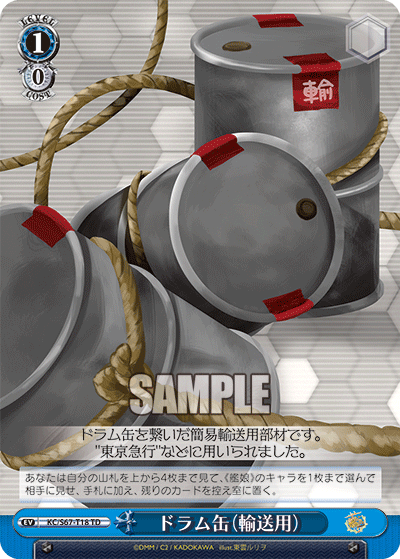

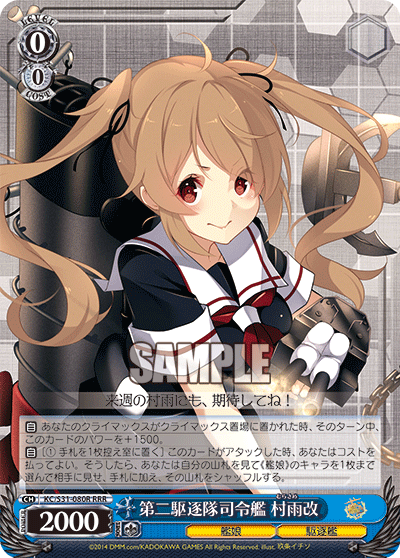
Now for the namesake of the deck. Barrels or drums, depending on what you call them, is an Akatsuki event that can be bonded to by Miss Glass Noodle on the right. As the interaction between the two implies, drop the barrel, and bond it back, and repeat again. I’m sorry, Harusame-san, but your promotional art looks too cute to pass.

Harusame above empowers herself whenever a barrel is used (once per turn), placing the top card of your deck underneath her and gaining markers for each one. Additionally, whenever she reverses an opponent, she gets to repeat the effect again, stacking herself full of markers.


KC/S67-004S-SR 夕雲型駆逐艦11番艦 藤波 (center)
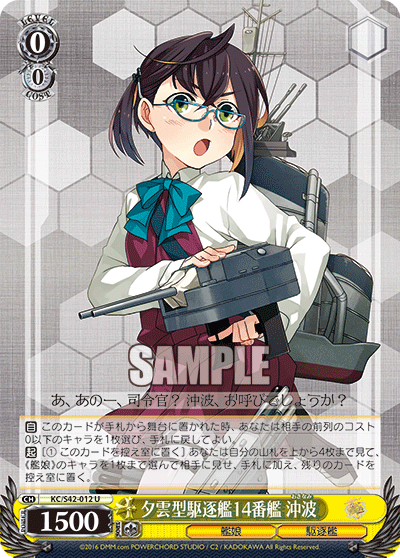
KC/S42-012U 夕雲型駆逐艦14番艦 沖波 (right)
What is our goal? Well, we’ll figure it out when we get there. For now, we must barrel. As the deck’s name implies, we must continue to barrel our way through the deck. We will find our answers eventually or just mill out. Each of these cards above provides us with another Akatsuki effect alongside literal Akatsuki on the left. Fujinami lets us discard two cards in hand to dig through our top four cards to add any card to hand. Okinami bounces a cost zero or lower character from your opponent’s stage back to hand on play and can sack itself to perform the Akatsuki ability. I do not know where the ship is headed, but I know we must go deeper. Just keep barreling, barreling, barreling…
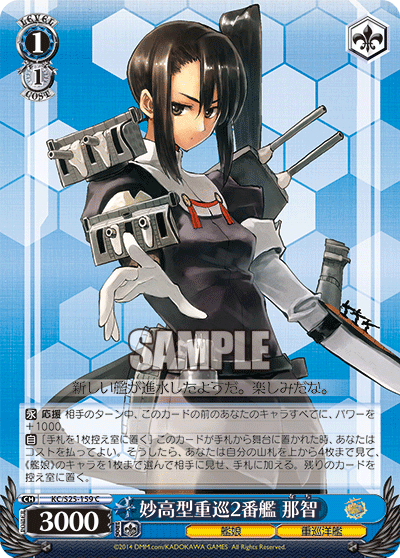
Nachi may be a tad expensive, but she’s another Akatsuki profile that also pumps power to characters in front of her during your opponent’s turn, synergizing with Ro and potentially letting you repeat the combo again the following turn.
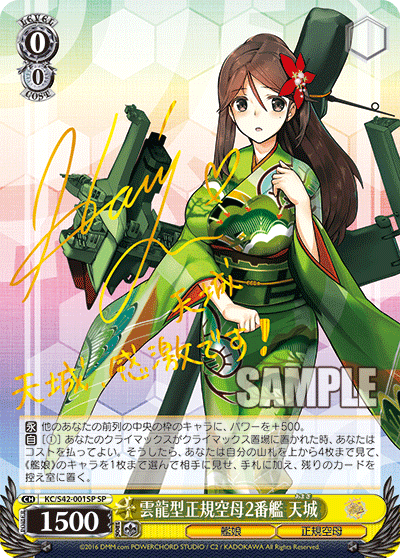
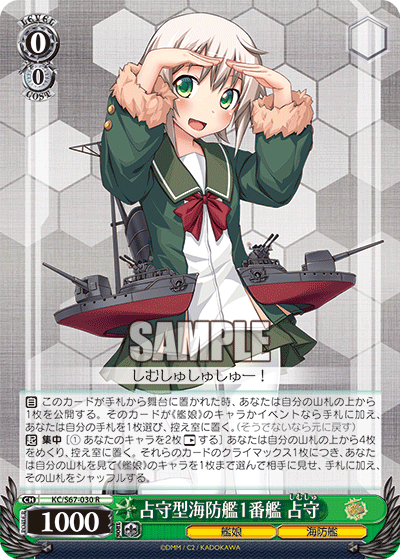
For our last Akatsuki effect, we have Amagi in the flesh on the left. Shimushu is our brainstorm of choice for it’s primary first ability. Shimushu is great because she lets us add and discard off the top of our deck first without having to commit any card. Furthermore, Shimushu lets us add events off her ability, helping us grab our barrels to dig further into the deck. She is a tap two brainstorm, but that is fine, given our back row is full of other supports that don’t require any tap ability to begin with.
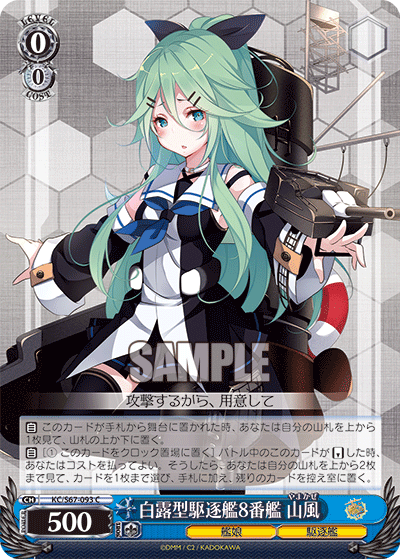
KC/S67-093C 白露型駆逐艦8番艦 山風 (center)
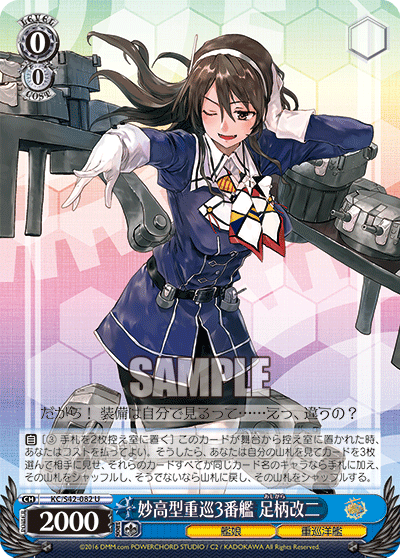
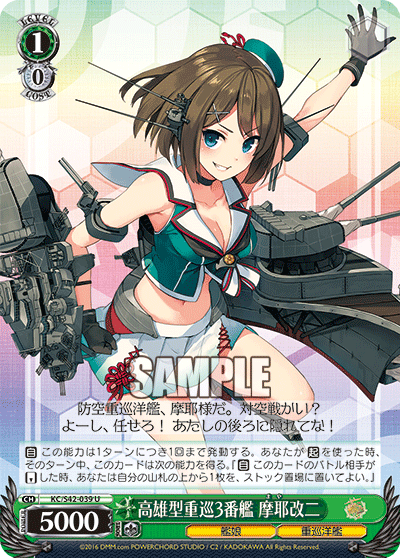
KC/S42-082U 妙高型重巡3番艦 足柄改二 (right)
Murasame is here to the rescue, acting as a drop searcher whenever she swings. Yamakaze is a Riki profile with a scry ability, perfect to use with Shimushu, when she’s reversed that sends itself to clock and lets you add any card from the top two cards of your deck. If you have the luxury resources to do so, Ashigara can be used to search for up to three copies of your finisher or any near playset of a single character.
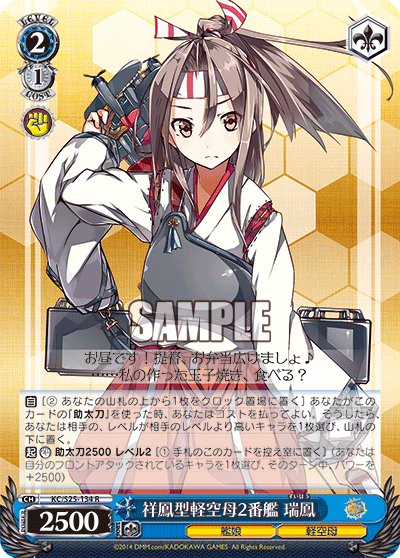
KC/S25-134R 祥鳳型軽空母2番艦 瑞鳳 (center)
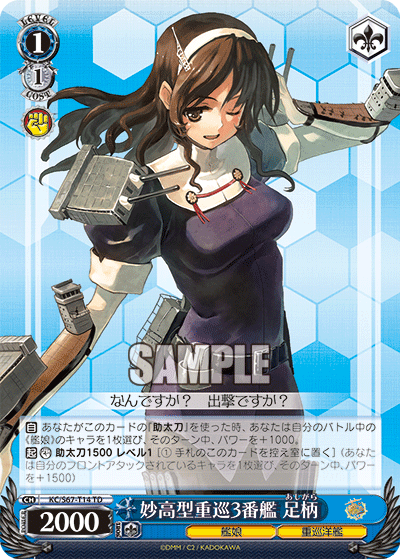
KC/S67-T14TD 妙高型重巡3番艦 足柄 (right)
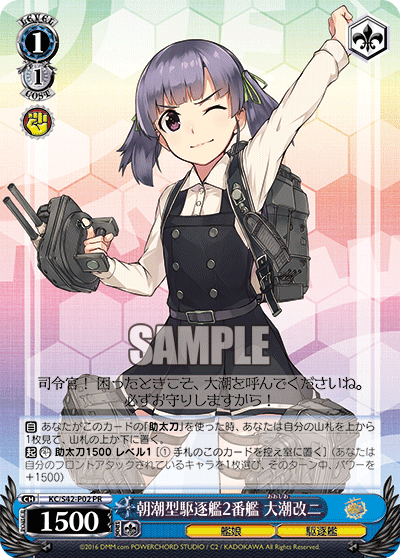
Ro is pretty large on her own. And dependent on when she’s brought on stage, your opponent may be struggling to beat her over as is. However, some backups can always be beneficial to keep her on stage, especially if you are likely to either draw or have an additional climax in hand for Ro the following turn. Ooshio on the left is a Leafa backup to help with hand filtering and pushing you closer to a cancel. Zuihou is an old-school anti-change that requires you to hurt yourself, but she comes at the benefiting of bottom decking any early-play targets. Ashigara, once the most feared wolf of the ocean, is an oversized backup that gives Ro the raw power she needs to overcome her opponents.
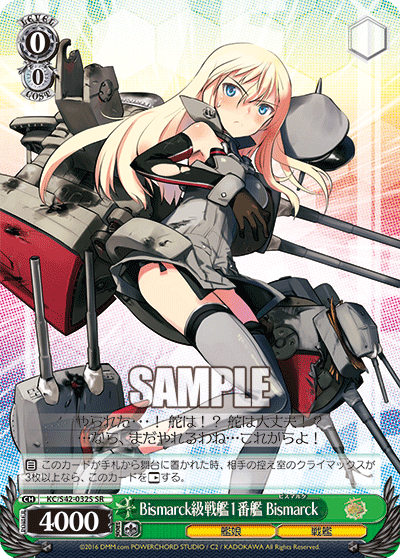

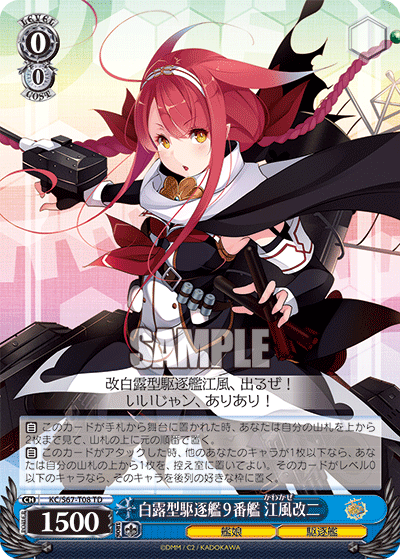
Bismarck is an essentially free 4000 powered beater if you don’t end up with too many climaxes in your waiting room early. Maya can be used to generate the extra stock required for our endgame combo and other abilities. Inazuma gives us a forced top reveal, helping us with Shimushu’s first ability while also being a Riki profile when sent to waiting room. Jervis is a coin flip profile that can help us with preserving hand. Kawakaze gives us the ability to rearrange the top two cards of our deck and can spawn us another playable in the backrow if we get lucky.
Ro-ro-ro your boat gently down the stream. Merrily, merrily, merrily, merrily, life is but a dream.