Amongst the many ships of Kantai Collection, one single ship stands out as the nighttime true ninja hiding in the shadows and patrolling the night seas for enemies. “夜戦! 夜戦! 夜戦!,” the ship would cry as she toppled enemy after enemy with a blitz of powerful attacks. This ship was none other than the flagship of the Sendai-class cruisers, Sendai herself.

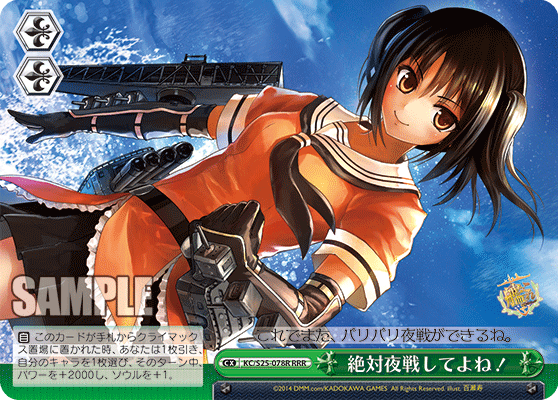
Released in the original set back in 2014, Sendai was an uncommon with a rather rare effect. Rather than providing herself with some power or some special advantage ability, she had a combo in which she would provide other cards around her that are level 0 with two more base soul damage. In essence, level 0s on the field at the time of her combo would be base three soul damage without trigger which was and is still a scary proposition indeed. There is a demerit to the effect as Sendai gives the +2 soul damage to any level 0 on either side of the field until the end of your opponent’s next turn.
Realistically speaking, that’s a terrible demerit as Weiss Schwarz is a game where dealing large soul damage of any kind is a great risk, if it lands in any way or form. It is fine for your cards to be dealing excess soul damage, but you would not want Sendai to continue to persist on the field in anyway after your turn.
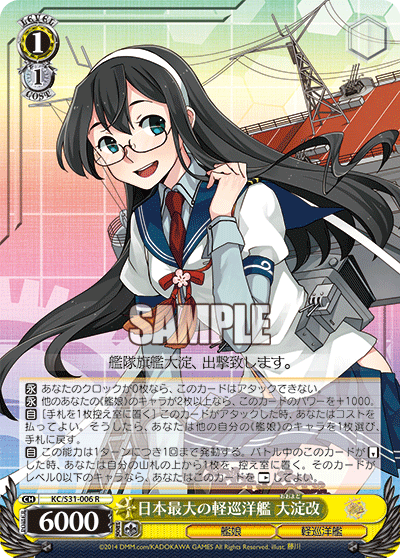
The solution to the Sendai question was a card released in the second booster of the set, the Ooyodo card above. Although requiring some commitment to yellow to be able to hit the field, Ooyodo’s most important effect lies in its third ability. On swing, she would let you pitch a card from hand to waiting room as a way to bounce Sendai back to hand, thus refunding and ridding the downside of her combo effects. Of course, this would mean that you would get one less attack carrying Sendai’s effect since Ooyodo is a level 1 and doesn’t get the +2 soul damage ability. However, it is worth it considering how punishing the return swing could be. Sendai does not need to be in the front row to activate its effect, meaning you have a front row of two level 0s and a single Ooyodo ideally. The lesser wanted alternative is simply crashing Sendai into the opponent causing her to enter the waiting room and opening a slot, but preventing the combo backlash.
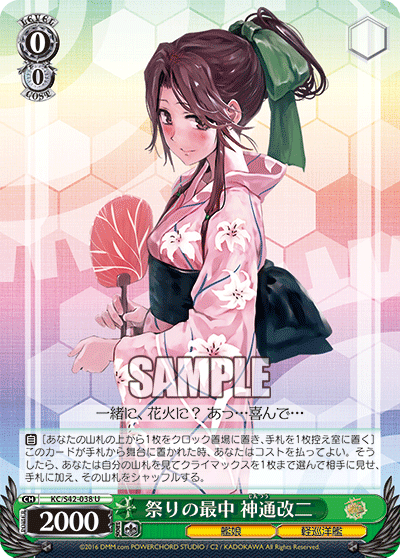

KC/S42-038U 祭りの最中 神通改二 (center)
KC/S31-040U 冬のひととき 暁 (right)
The above are good cards that should be present in any build of the deck. The left card acts as a filter to help the deck mill and maintain hand advantage. The center card grabs climaxes to help and try to maintain the combo constantly. The third card is just another very good filter that helps mill as well. These cards also help to maintain colour count for the Ooyodo and Sendai respectively.
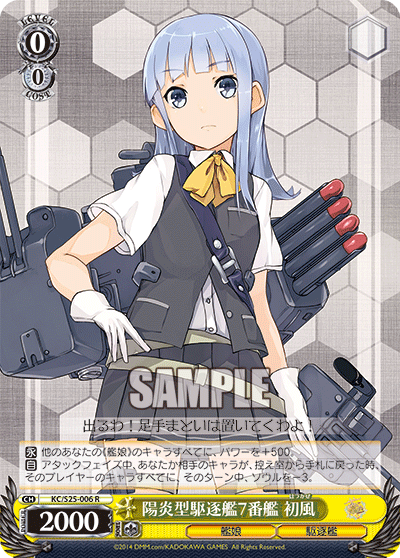
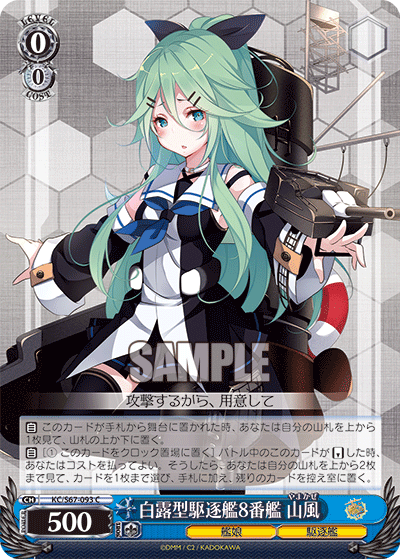
The left card used to be one of the main beaters in the deck due to its generally easy recurring ability to bounce back to hand upon reverse. Although with the latest set, the same profile has been reprinted but onto a level 0 (the right card), thus making the level 1 obsolete for the deck since the level 0 can actually benefit from Sendai’s ability.
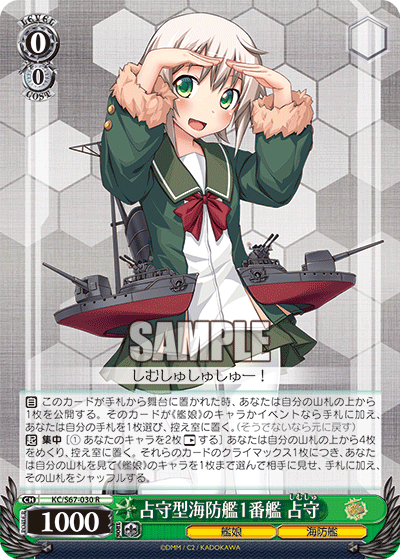
KC/S67-030R 占守型海防艦1番艦 占守 (center)
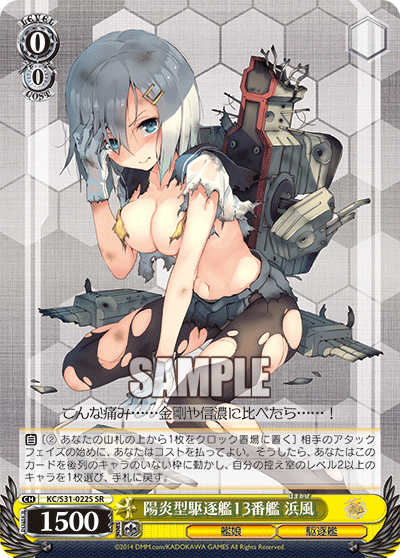
KC/S31-022SR 陽炎型駆逐艦13番艦 浜風 (right)
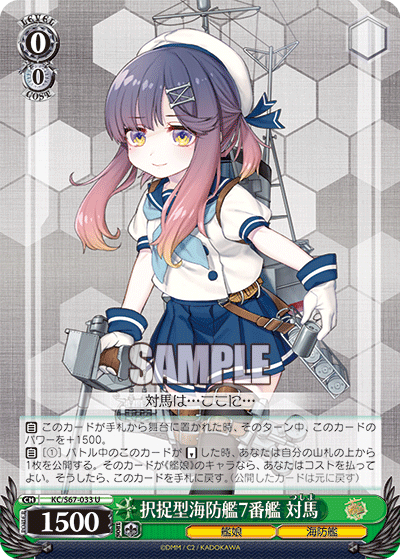
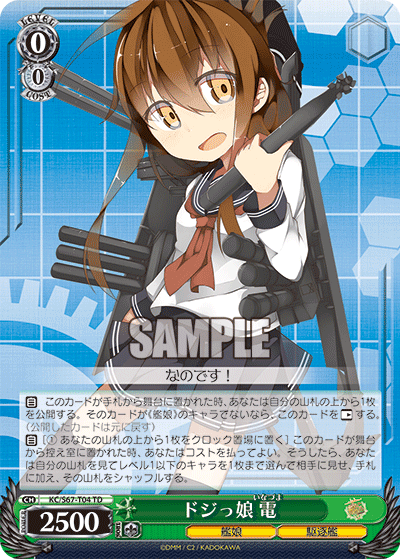
For the rest of the deck, you ideally want to compile a vast majority of level 0s. There isn’t any worry of having to backup against your opponent since your cards for the most part are costless and easy to play. Additionally, the reason that the deck structure is labelled with all four colours is because the vast majority of the deck is open for the player’s own decision. Above are considerations to add that help filter or act as ways to gain advantage. The only real worry with the deck is running out of hand. The Tsushima printed above acts as a way to recycle stock into card advantage which is great since the main combo is mostly costless to begin with. Try to limit the number of cards beyond level 0 since only level 0s benefit from Sendai’s effect.
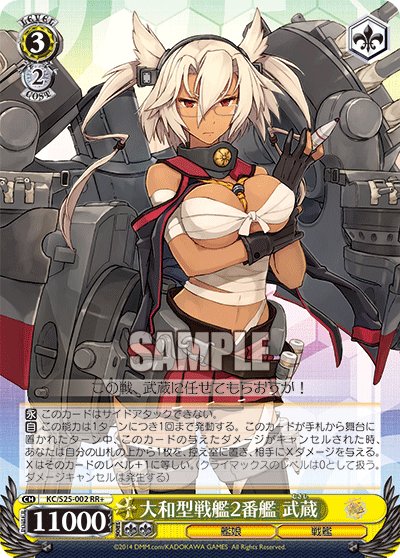
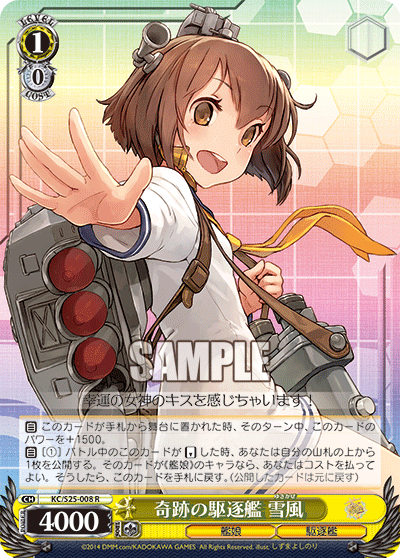
Now you still want to finish the game somehow. Sendai’s combo is great at dealing excessive damage, but not very good at closing out the game. Cheap finishers like the one above that don’t have many other requirements to perform their effects are perfect for the deck. Again, it is up to you how you decide to build around the Sendai core.
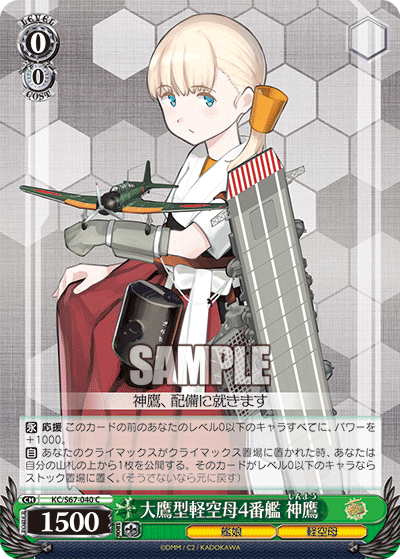
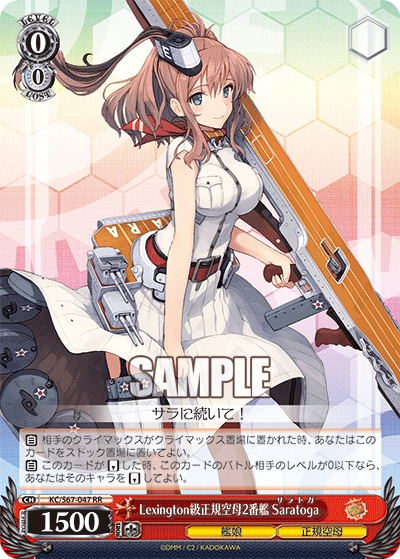
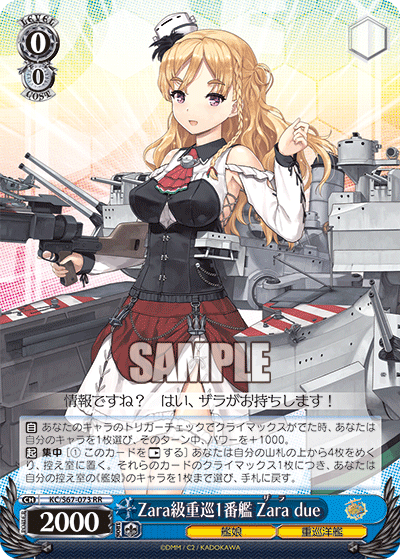
The cards above are samples of the many options of cards you can place in your deck. I won’t name them, but you should get the point. The beauty of the deck’s structure is the overflowing flexibility to build as you wish. As for the pairings of climaxes with Sendai’s, pick whichever you’d like. Perhaps you’d want to pair her climax with that of a gate climax to salvage Sendai’s climax? Or maybe you’d want to pair some salvage climaxes to grab characters or Sendai herself on trigger? The possibilities and options are up to you. Have fun and rush your opponent to level 4.